Featured
Fence messages are the backbone of any kind of sturdy fencing, giving crucial assistance and structure. Gradually, they might lean or sustain damages due to weather, dirt conditions, or basic deterioration. Below's a practical guide to assist you repair a leaning or damaged fencing message effectively.
Action 1: Recognize the Problem
Prior to starting repairs, analyze the source of the leaning or damage. Common concerns consist of:
Decaying Timber: Dampness can cause wooden blog posts to degeneration.
Shifting Dirt: Erosion or loosened dirt might lead to instability.
Impact Damage: Messages can be compromised by crashes or severe climate.
Improper Installment: Shallow post openings or insufficient anchoring can lead to leaning.
Knowing the origin cause will certainly aid you determine the most effective fixing technique.
Step 2: Gather the Required Devices and Products
Here's what you'll need:
Shovel or article opening miner
Level
Message brackets or anchors
If essential),Replacement message (.
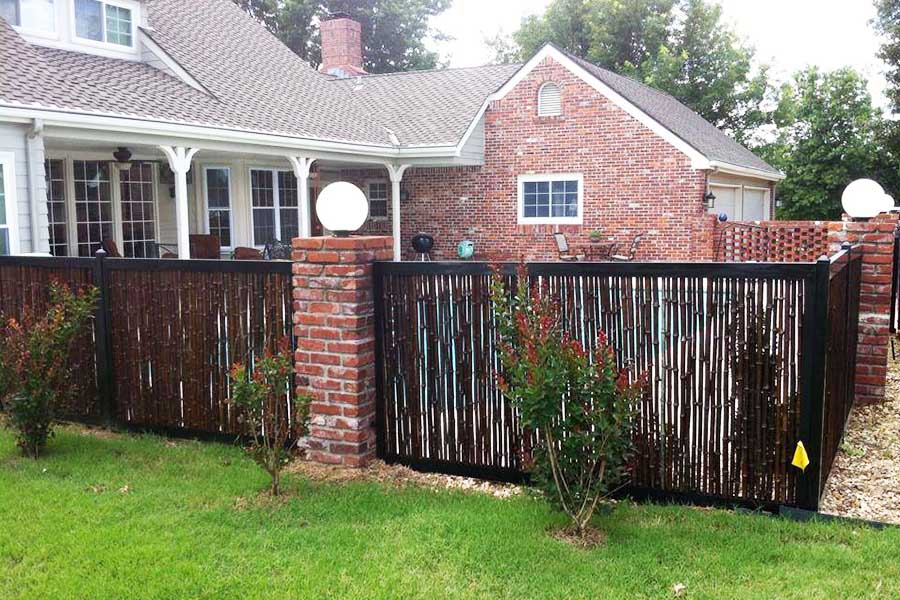
![]()
Crushed rock and/or concrete mix
Drill or hammer
Protective equipment (handwear covers, goggles)
Action 3: Repairing a Leaning Fence Article
If the message is leaning yet structurally audio, adhere to these steps:
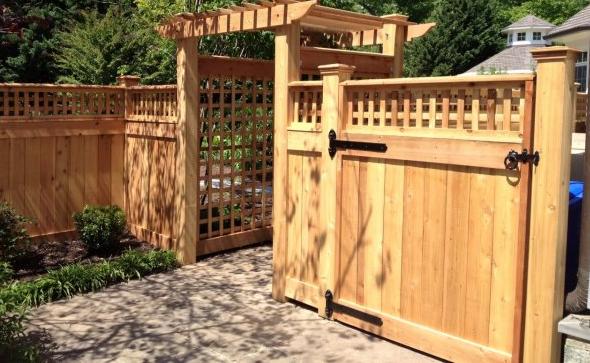
Subject the Base. Dig around the article to subject the base, getting rid of loosened dirt or debris. This will allow you to rearrange it.
![]()
Straighten the Post. Pull the blog post or press upright, checking its placement with a level. Use short-term dental braces or stakes to hold it in position.
Reinforce the Foundation
Gravel Approach: Add crushed rock around the base, tamping it down to give stability.
Concrete Approach: Mix and pour concrete into the hole around the message. Make certain the message remains degree as the concrete collections.
Protect the Message. Allow the concrete remedy for at least 24-48 hours prior to eliminating braces or stakes.
Step 4: Replacing a Damaged Fencing Message
If the post is broken, rotten, or otherwise past repair, replacing it is the most effective alternative.
Remove the Old Blog Post. Dig out the old post, including any concrete footing. Use a lever or article puller for persistent articles.
Prepare the Opening. Clean and broaden the opening as required. For ideal support, the hole needs to be one-third the size of the article.
Install the New Article. Place the new blog post right into the opening. Use a degree to ensure it's straight and briefly brace it.
Protect and fill up. Add crushed rock for drainage at the base, after that fill up the opening with concrete or firmly loaded soil. Permit the concrete to set prior to affixing the fence panels.
Step 5: Stop Future Issues.
To preserve your fencing and stay clear of similar issues:
Usage pressure-treated timber or metal blog posts for enhanced longevity.
Make certain proper water drainage around the base to stop water damages.
Conduct regular assessments to determine potential problems early.
Final Thought
Fixing a leaning or damaged fencing post doesn't need to be discouraging. With the right devices, products, and method, you can restore your fencing to its full performance and look. Routine maintenance and proactive treatment will help prolong the life of your fencing, guaranteeing it stays a eye-catching and trusted component of your residential or commercial property for years to come.
Action 1: Recognize the Problem
Prior to starting repairs, analyze the source of the leaning or damage. Common concerns consist of:
Decaying Timber: Dampness can cause wooden blog posts to degeneration.
Shifting Dirt: Erosion or loosened dirt might lead to instability.
Impact Damage: Messages can be compromised by crashes or severe climate.
Improper Installment: Shallow post openings or insufficient anchoring can lead to leaning.
Knowing the origin cause will certainly aid you determine the most effective fixing technique.
Step 2: Gather the Required Devices and Products
Here's what you'll need:
Shovel or article opening miner
Level
Message brackets or anchors
If essential),Replacement message (.
Crushed rock and/or concrete mix
Drill or hammer
Protective equipment (handwear covers, goggles)
Action 3: Repairing a Leaning Fence Article
If the message is leaning yet structurally audio, adhere to these steps:
Subject the Base. Dig around the article to subject the base, getting rid of loosened dirt or debris. This will allow you to rearrange it.
Straighten the Post. Pull the blog post or press upright, checking its placement with a level. Use short-term dental braces or stakes to hold it in position.
Reinforce the Foundation
Gravel Approach: Add crushed rock around the base, tamping it down to give stability.
Concrete Approach: Mix and pour concrete into the hole around the message. Make certain the message remains degree as the concrete collections.
Protect the Message. Allow the concrete remedy for at least 24-48 hours prior to eliminating braces or stakes.
Step 4: Replacing a Damaged Fencing Message
If the post is broken, rotten, or otherwise past repair, replacing it is the most effective alternative.
Remove the Old Blog Post. Dig out the old post, including any concrete footing. Use a lever or article puller for persistent articles.
Prepare the Opening. Clean and broaden the opening as required. For ideal support, the hole needs to be one-third the size of the article.
Install the New Article. Place the new blog post right into the opening. Use a degree to ensure it's straight and briefly brace it.
Protect and fill up. Add crushed rock for drainage at the base, after that fill up the opening with concrete or firmly loaded soil. Permit the concrete to set prior to affixing the fence panels.
Step 5: Stop Future Issues.
To preserve your fencing and stay clear of similar issues:
Usage pressure-treated timber or metal blog posts for enhanced longevity.
Make certain proper water drainage around the base to stop water damages.
Conduct regular assessments to determine potential problems early.
Final Thought
Fixing a leaning or damaged fencing post doesn't need to be discouraging. With the right devices, products, and method, you can restore your fencing to its full performance and look. Routine maintenance and proactive treatment will help prolong the life of your fencing, guaranteeing it stays a eye-catching and trusted component of your residential or commercial property for years to come.
Latest Posts
Uncover Budget-Friendly Auto Repairs with Montclare’s Monthly Service Specials
Published May 25, 25
1 min read
Uncover Brake Repair & More: Full Services Guide from Montclare Auto Repair
Published May 24, 25
1 min read
Experience WyHy Federal Credit Union – Top Benefits for Members
Published May 24, 25
1 min read
More
Latest Posts
Uncover Budget-Friendly Auto Repairs with Montclare’s Monthly Service Specials
Published May 25, 25
1 min read
Uncover Brake Repair & More: Full Services Guide from Montclare Auto Repair
Published May 24, 25
1 min read
Experience WyHy Federal Credit Union – Top Benefits for Members
Published May 24, 25
1 min read